Node.js & npm on Ubuntu EC2
What you’ll learn
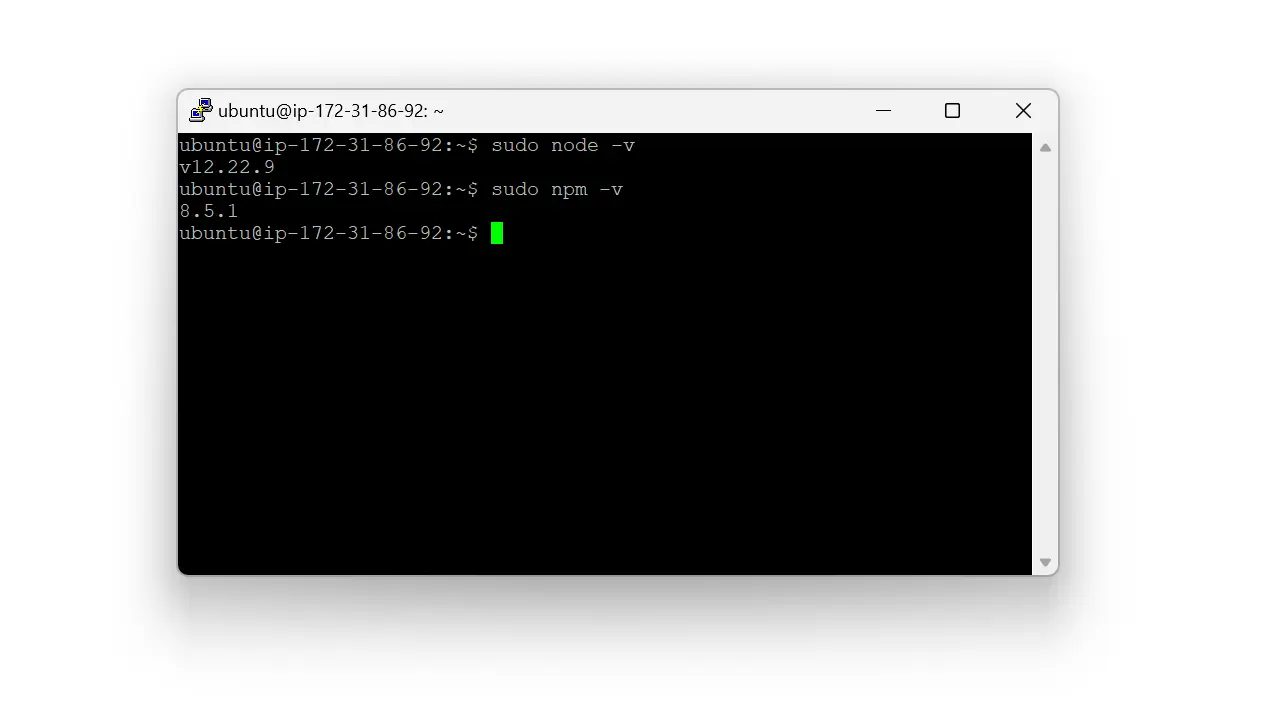
On a fresh Ubuntu instance in Amazon EC2, you typically install Node.js and npm before deploying an app. This guide uses the distribution packages as a starting point, then upgrades to a supported release line with n, matching the console flow from the original screenshots.
Prerequisites
Before you begin, make sure you have the following:
- An AWS account with access to EC2.
- An Ubuntu EC2 instance in the running state.
- SSH access—for example with PuTTY on Windows or
sshfrom macOS or Linux—using a user that can runsudo(oftenubuntuon official Ubuntu AMIs).
Update package metadata
Refresh the local apt index so installs resolve to current repository metadata:
sudo apt updateInstall Node.js and npm
Install the Ubuntu packages (names may vary slightly by release):
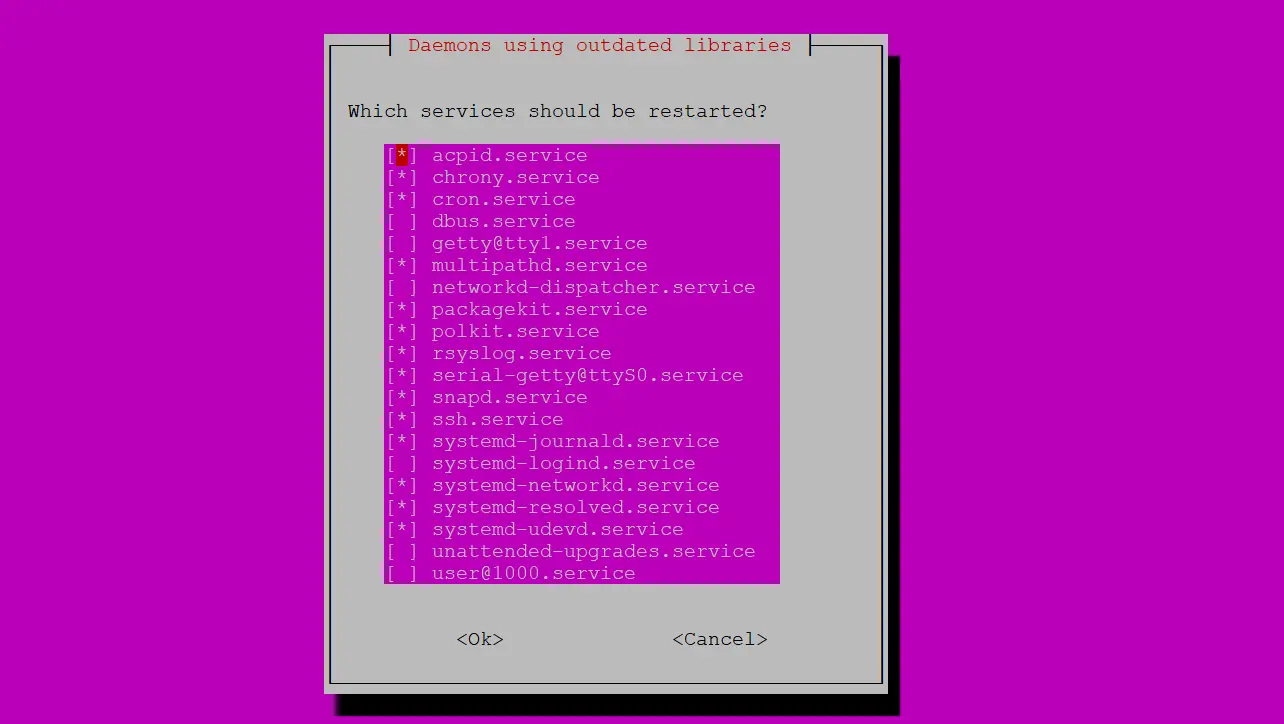
Terminal (EC2)sudo apt install -y nodejs npmDuring dependency installation, a dialog may appear stating that daemons are using outdated libraries. On an interactive SSH session, press Enter or choose OK to continue.
Ubuntu Check versions without
sudo(you want your login user’sPATH):Terminal (EC2)node -v npm -vUbuntu
Upgrade to a current Node.js with n
The nodejs package in Ubuntu is often several majors behind upstream. The n tool downloads prebuilt Node binaries and switches the active version under /usr/local.
Install
nglobally with npm, then install a newer Node line. Prefer LTS:Terminal (EC2)sudo npm install -g n sudo n ltsTo match the original walkthrough exactly you can pin a version instead, for example
sudo n 22for the latest Node 22.x, after checking nodejs.org.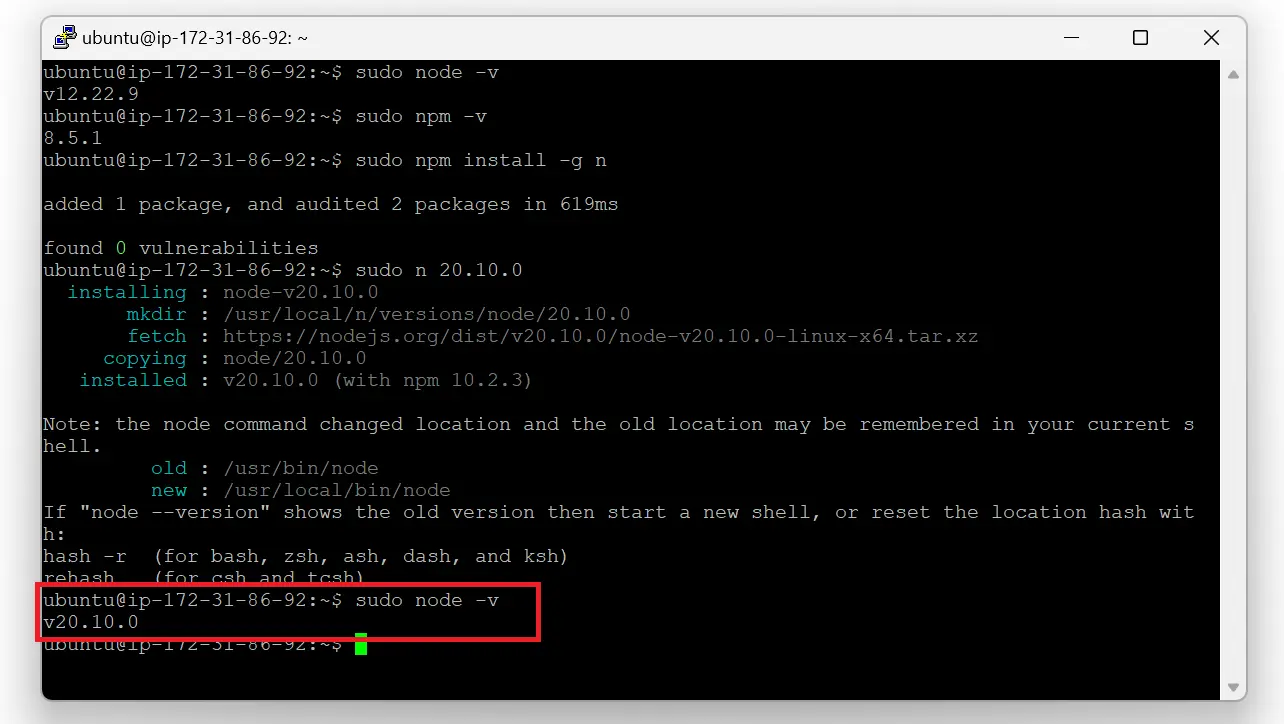
Ubuntu Open a new SSH session (or run
hash -r) and verify again withnode -vandnpm -v.
Key takeaways
apt gives a stable but often older Node; upgrade when your framework or runtime requires a newer major.
n is one option; teams also use nvm, fnm, or distribution-neutral NodeSource setup scripts—pick one approach per instance to avoid conflicting binaries.
After Node is ready, use FileZilla or git to move project files, then follow Deploy Node.js on EC2 for PM2 and port setup.
Frequently asked questions
n installs system-wide under /usr/local, which is simple for a single-app EC2. nvm is user-scoped and popular for development machines. Either is fine if you stay consistent and document which user runs your process manager.sudo only for installs and privileged port binds, not for ordinary version checks.Next: SFTP with FileZilla
With Node installed, copy your application files from your laptop using the same SSH endpoint and key.
npm ships with Node.js installers on most platforms. After you install a newer Node line with n, run hash -r or open a new shell if which node still points at an old binary.
About the author


8 people found this page helpful