All-in-One WP Migration — larger uploads on Bitnami
What you’ll learn
The All-in-One WP Migration plugin (ServMask) exports and imports whole WordPress sites. Large imports hit PHP upload limits and sometimes a plugin-side cap.
This guide targets a Bitnami WordPress on EC2 layout (see WordPress on AWS (Bitnami)): install the plugin, verify the AI1WM_MAX_FILE_SIZE constant if needed, raise upload_max_filesize and post_max_size in php.ini, restart the stack, and confirm the new ceiling in wp-admin.
What is All-in-One WP Migration?
It is a popular WordPress plugin for packaging themes, plugins, uploads, and the database into a single archive for migration or backup. Imports can flow from the filesystem, cloud storage, or other extensions depending on what you install.
Install All-in-One WP Migration
- Sign in to wp-admin.
- Open Plugins → Add New.
- Search for All-in-One WP Migration (vendor ServMask).
- Choose Install Now, then Activate.
You should now see All-in-One WP Migration in the admin menu.
Increase maximum upload size
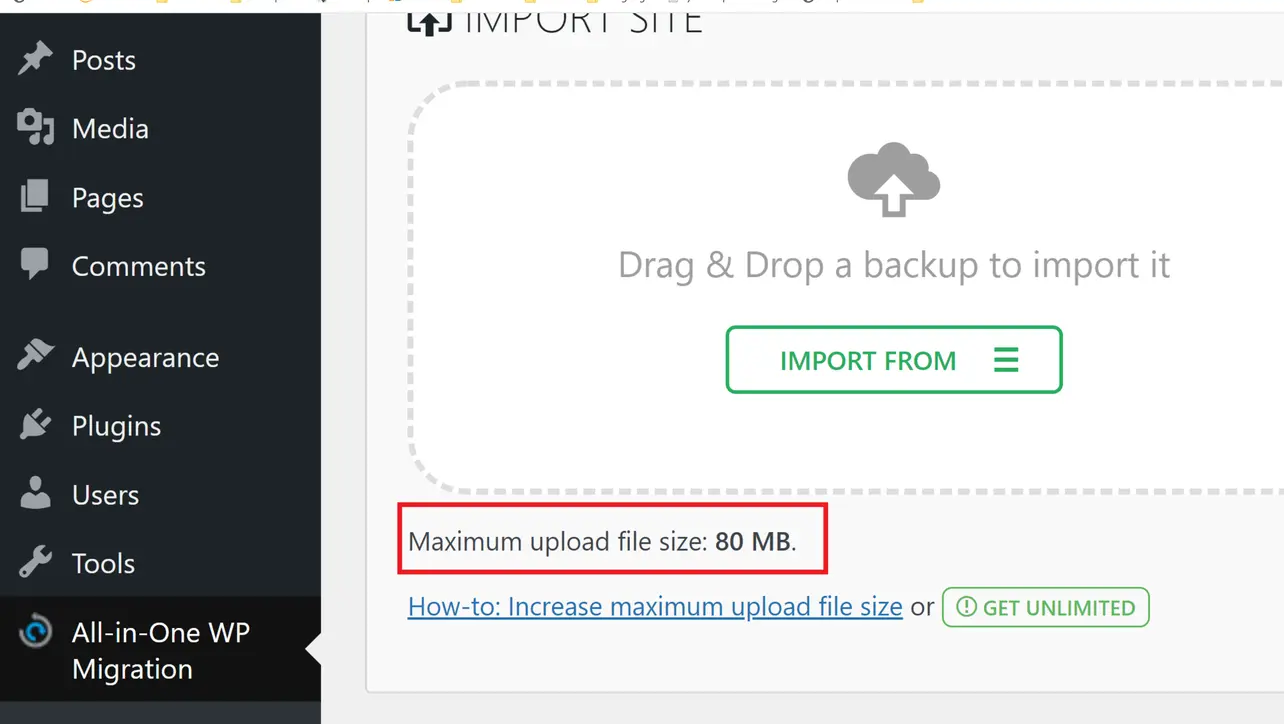
The effective import limit is the minimum of PHP settings, reverse-proxy body limits, and any cap from the plugin or its add-ons. The UI may show a default such as 80 MB; your server can differ. The steps below raise PHP to 300 MB as an example—set values that match your archive size plus headroom.
In wp-admin, open All-in-One WP Migration → Import and note the advertised maximum upload size.
WordPress Optional: confirm the plugin constant
AI1WM_MAX_FILE_SIZEis not stuck at a low value. On current releases the definition may live under the plugin’sconstants.php(or equivalent)—paths change between versions, so compare with the vendor documentation before editing anything insidewp-content/plugins/.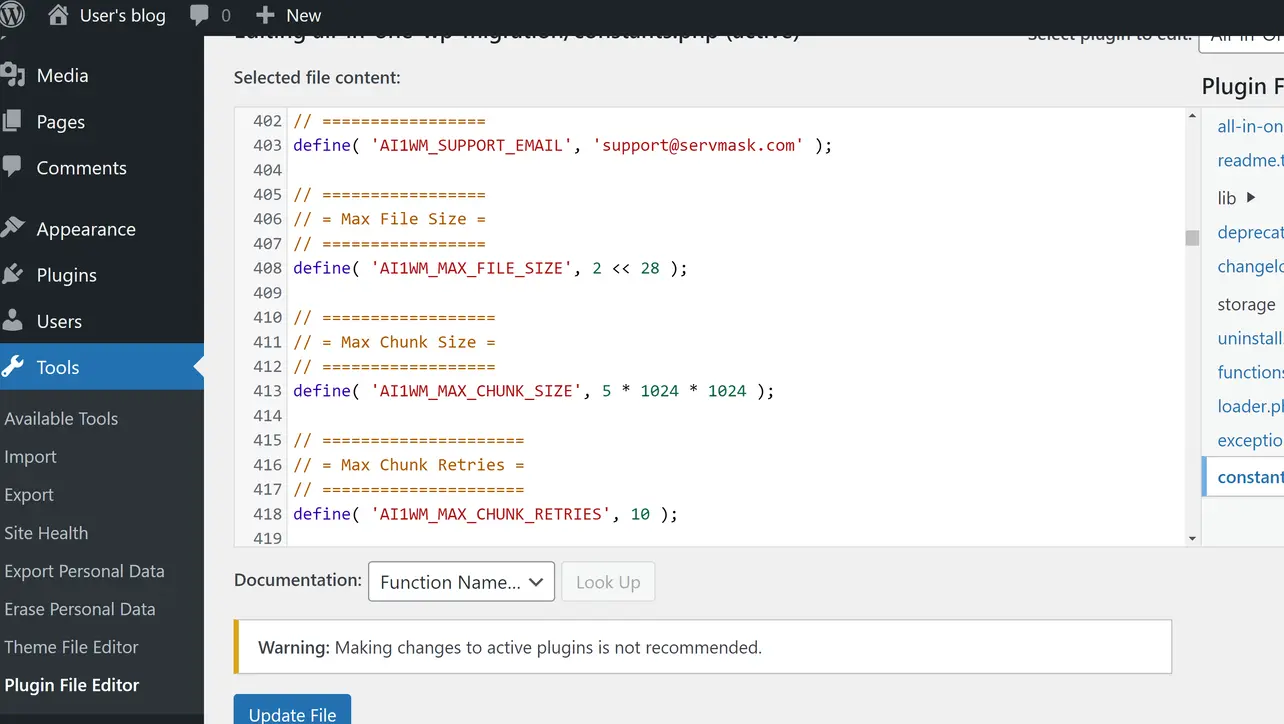
WordPress Connect to the instance with FileZilla (or SSH) and open Bitnami’s PHP configuration, commonly:
Path (Bitnami)/opt/bitnami/php/etc/php.iniIf your stack is not Bitnami, locate
php.iniwithphp --iniover SSH or your AMI docs.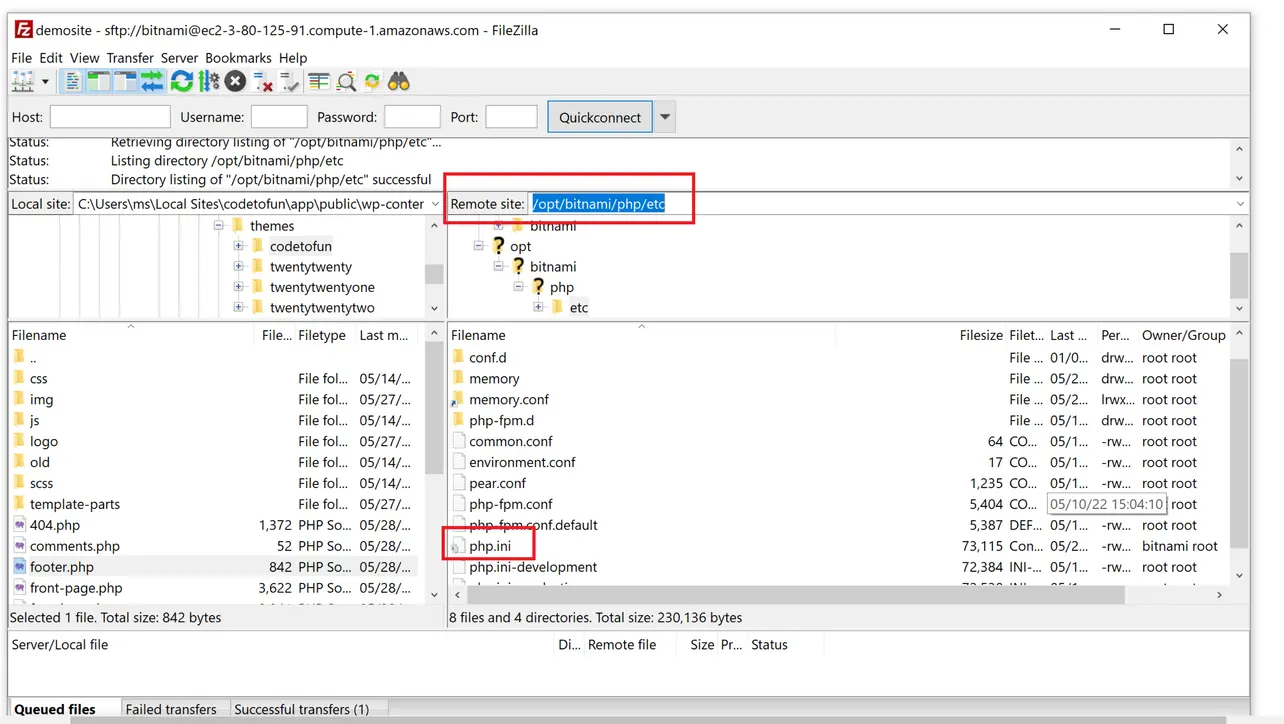
SFTP / FileZilla Edit
upload_max_filesizeandpost_max_size(for example set both to300M). Keeppost_max_sizeat least as large asupload_max_filesize. Save and upload the file back to the server.php.ini (example)upload_max_filesize = 300M post_max_size = 300M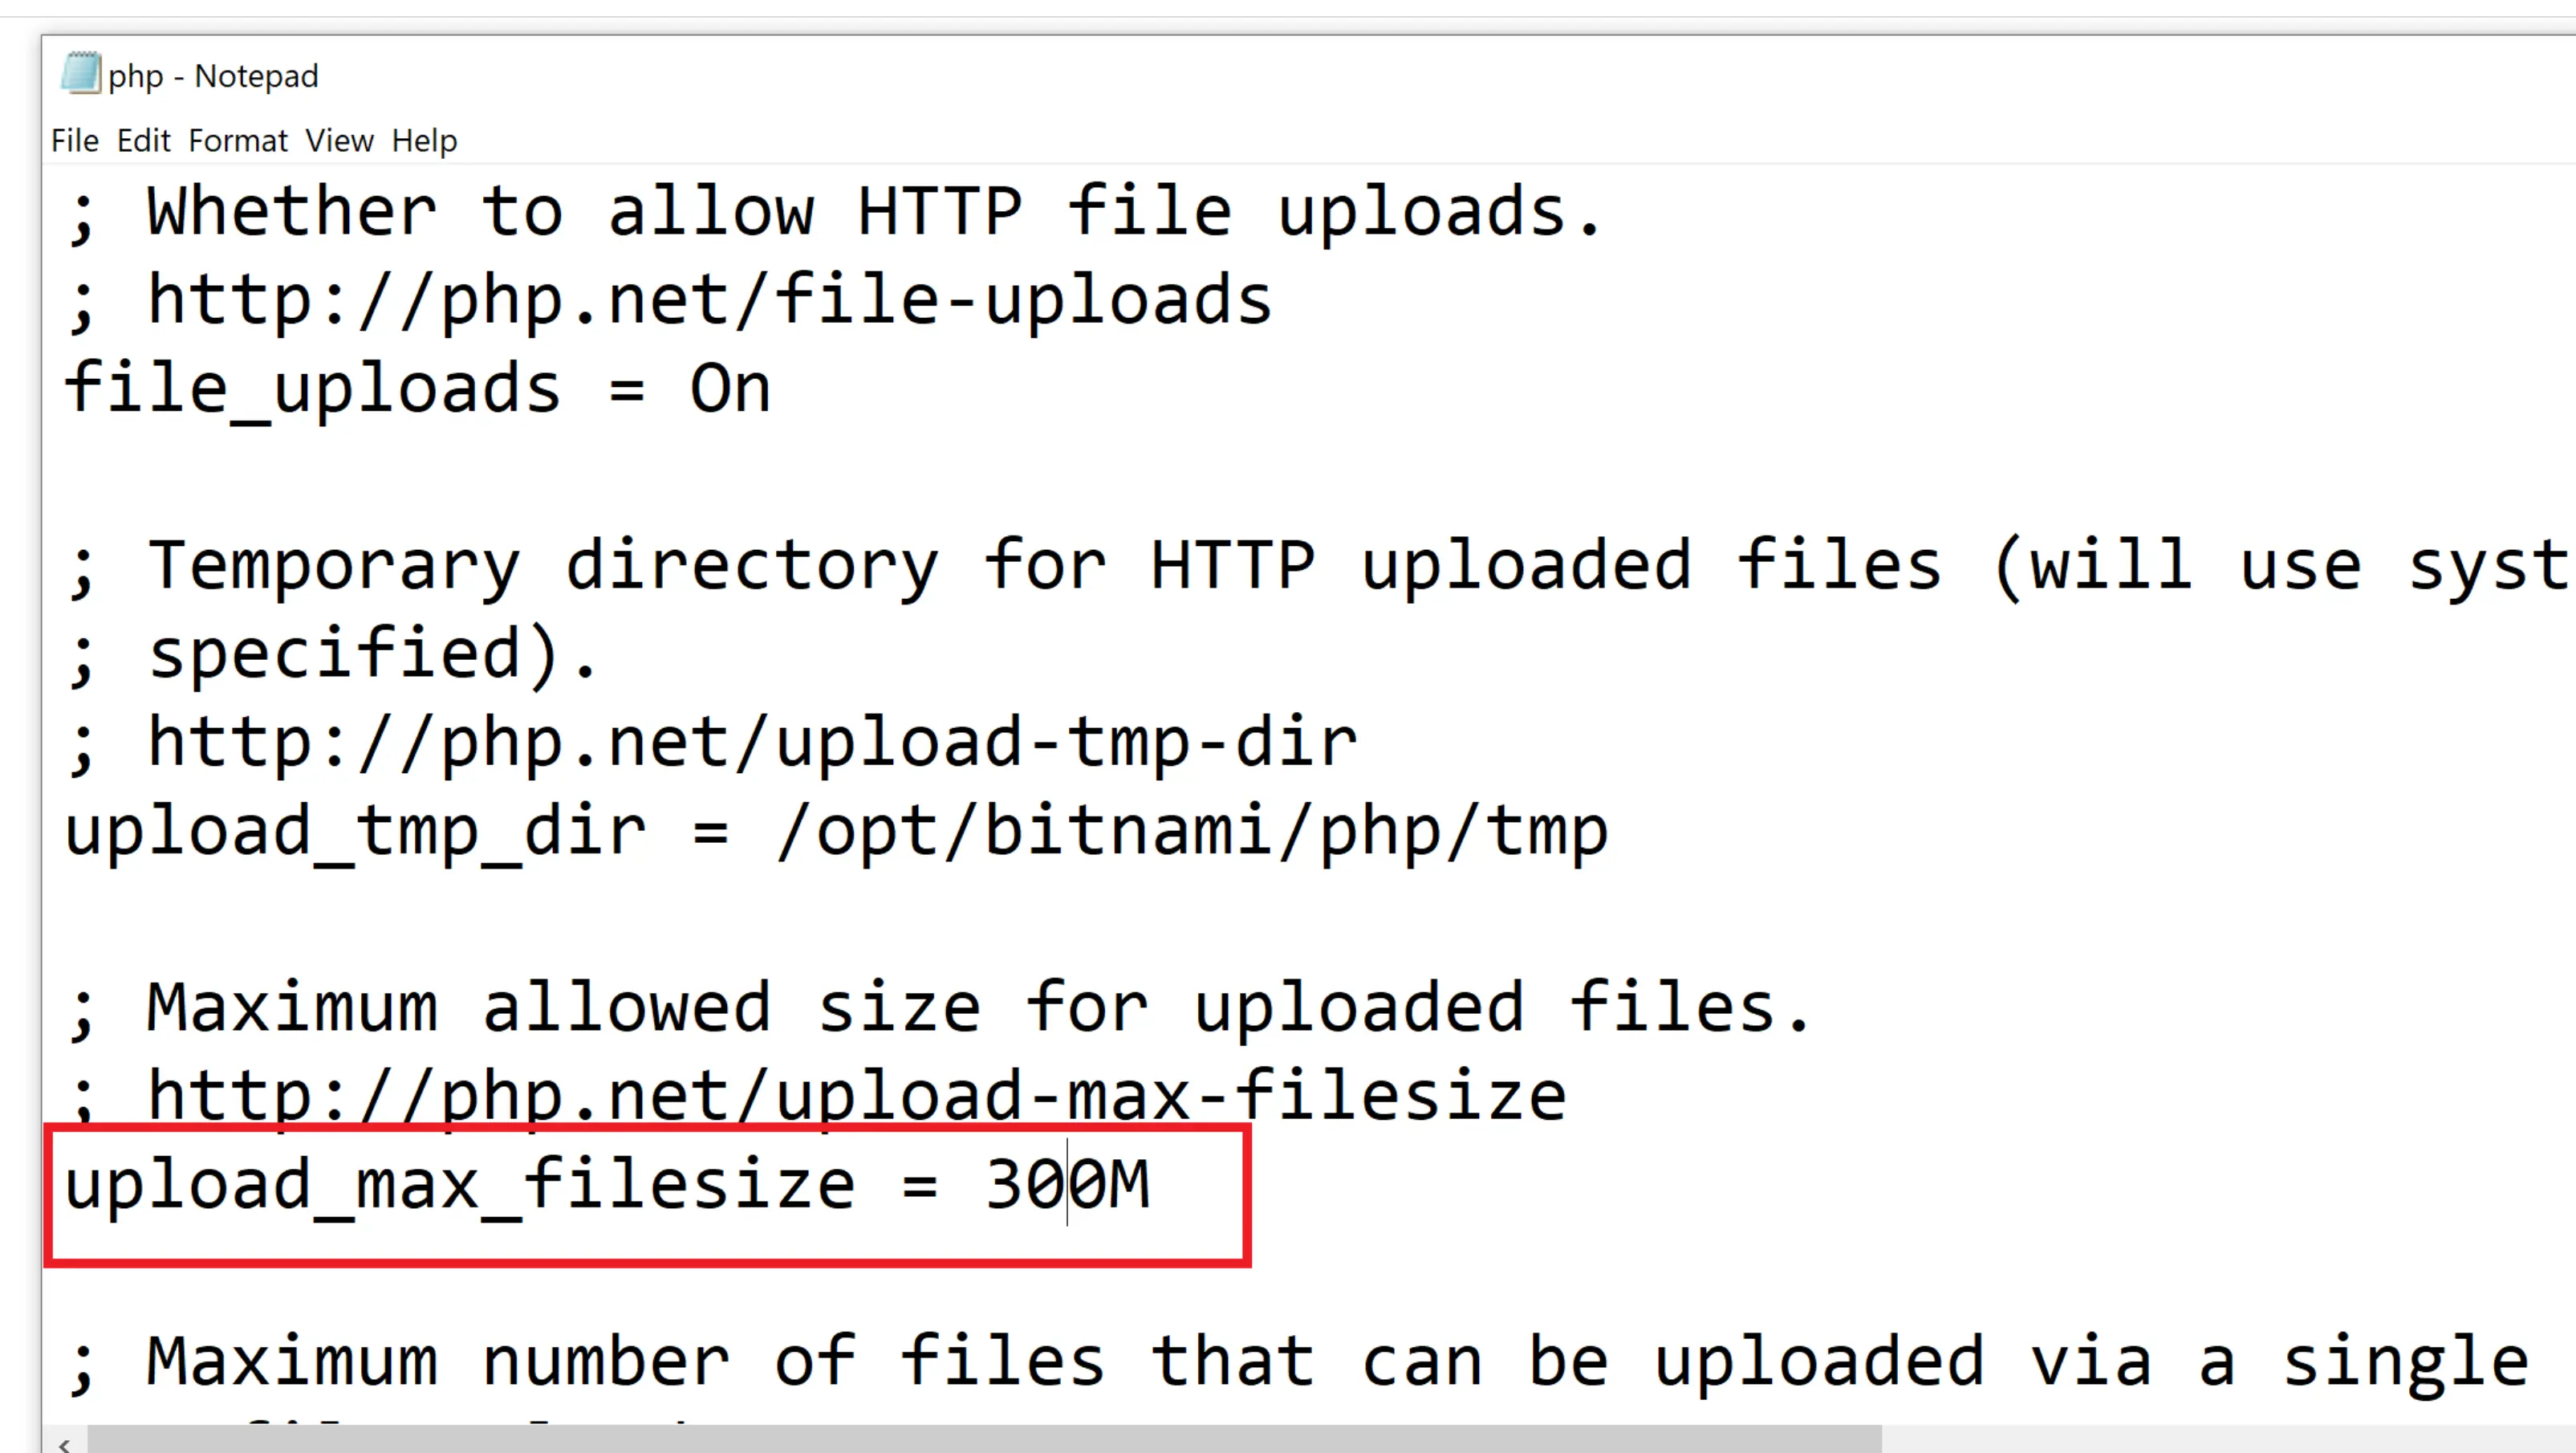
Editor Restart Bitnami services so PHP picks up changes. Over SSH as a user with sudo:
Terminal (EC2)sudo /opt/bitnami/ctlscript.sh restart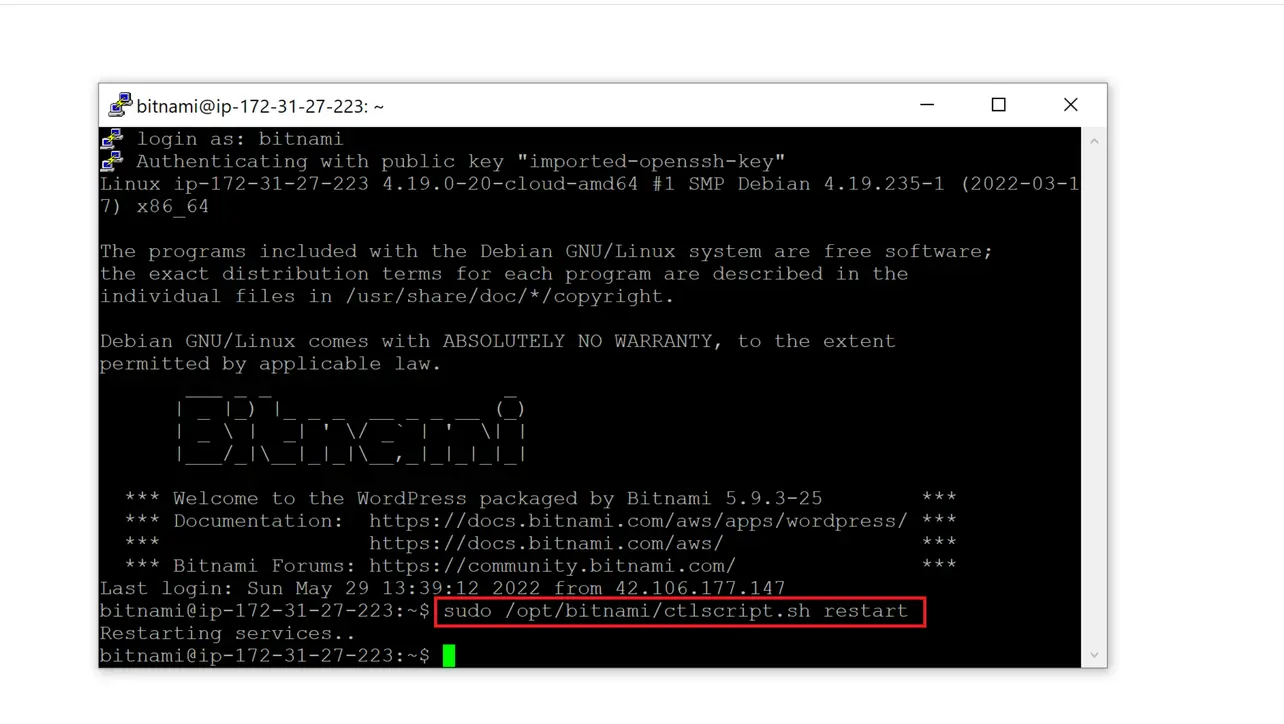
Ubuntu Reload All-in-One WP Migration → Import and confirm the displayed limit reflects your new PHP settings (and any premium extension caps).
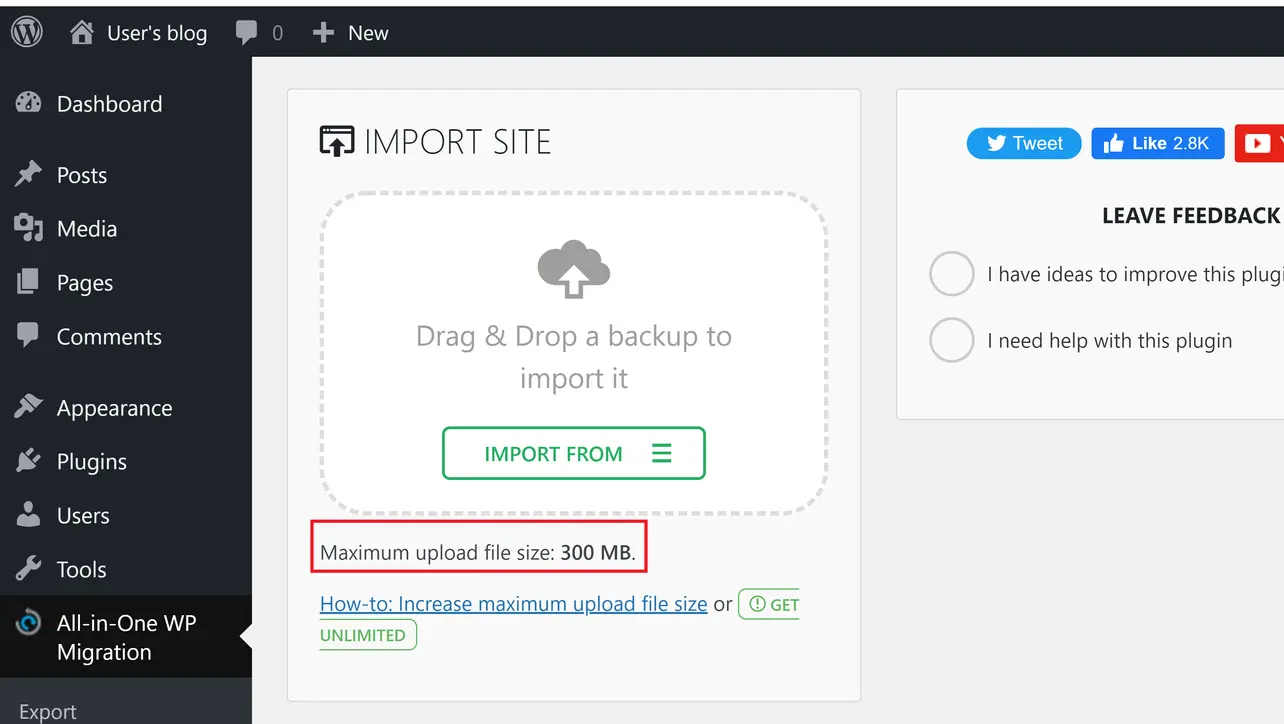
WordPress
Key takeaways
Imports are capped by PHP, the web server, proxies, and the plugin—raise the bottleneck layer.
On Bitnami, /opt/bitnami/php/etc/php.ini is the usual place to set upload_max_filesize and post_max_size.
Restart services after php.ini edits; avoid long-lived hacks inside plugin files that updates will erase.
Frequently asked questions
post_max_size is too small, even if upload_max_filesize is large. Set post_max_size to at least your largest expected upload (often match both directives for simplicity).php.ini or drop-in overrides for your AMI (Apache, Nginx, or php-fpm pools). Restart the correct service (for example systemctl restart php8.2-fpm) so changes apply.Next: S3 from your laptop
Use the AWS CLI to sync large media or exports to and from buckets once PHP limits are sorted.
Edits inside the plugin’s PHP source are overwritten on every plugin update. For a durable cap, use the vendor’s premium extensions, filters documented by ServMask, or manage limits in php.ini / web server config that you control outside the plugin tree.
About the author


8 people found this page helpful