WordPress on AWS (Bitnami AMI)
What you’ll learn
WordPress is a PHP content management system backed by MySQL or MariaDB. On AWS, a fast way to experiment is launching a WordPress Certified by Bitnami and Automattic image from AWS Marketplace onto EC2.
This walkthrough covers the high-level console flow: open EC2, start the marketplace WordPress template, choose a small instance type, complete launch, open the site over HTTP, and recover the initial admin password from the system log.
What is WordPress?
WordPress is a free, open-source CMS for blogs, marketing sites, portfolios, and stores (often extended with plugins and themes). In production you still plan backups, updates, TLS, and scaling; this guide is a starting point on a single EC2 instance.
Launch WordPress on EC2
Log in to the EC2 console and follow the steps below.
Open the EC2 dashboard (search for EC2 in the console search bar if needed).
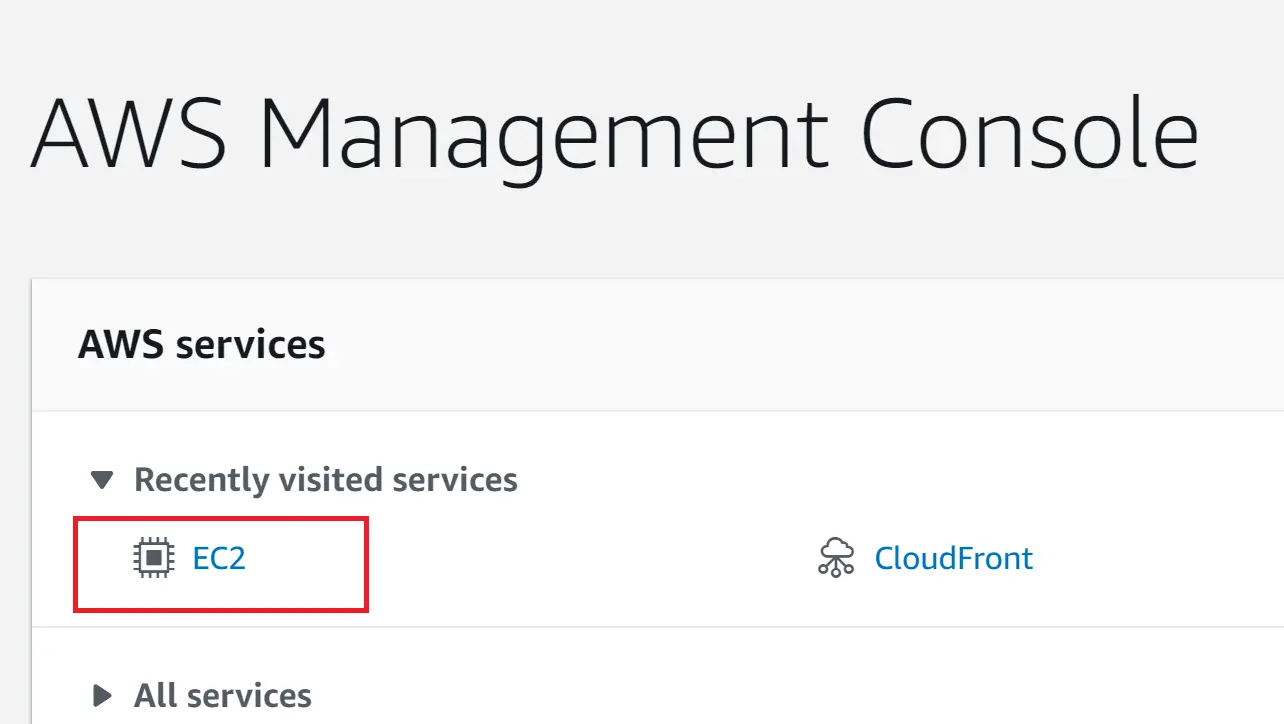
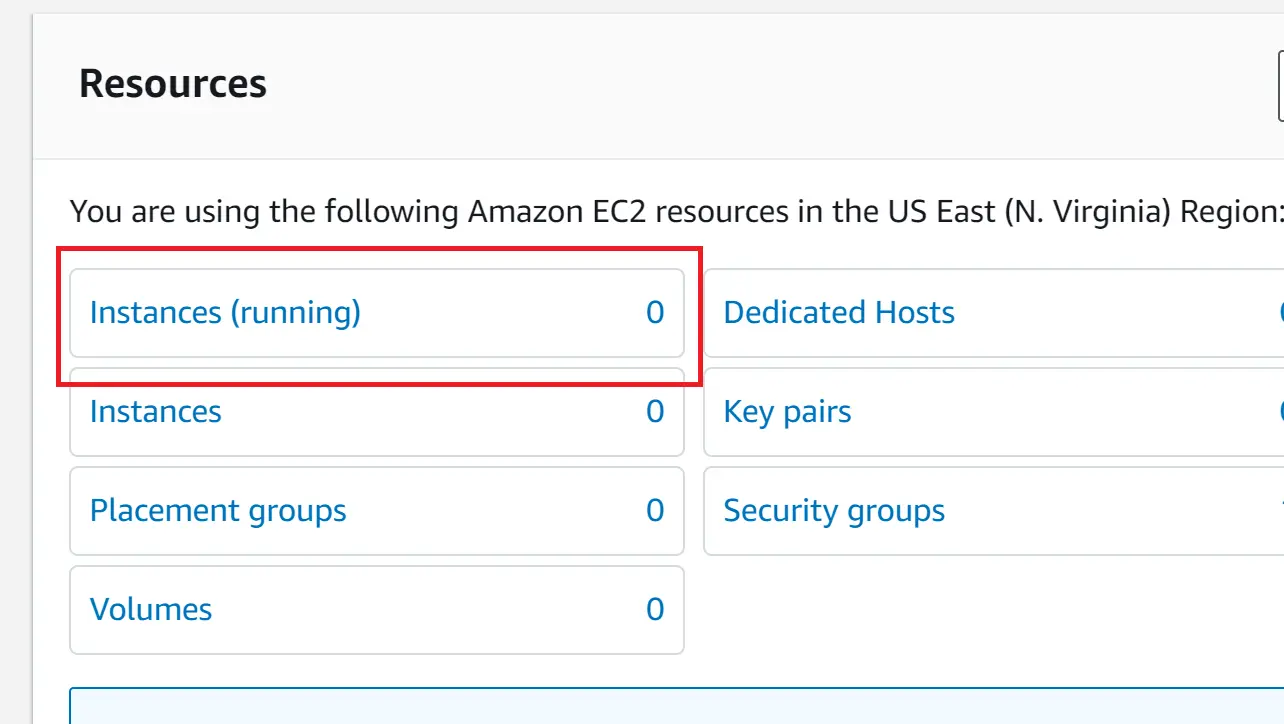
AWS Management Console From the EC2 dashboard, open Instances (or the instances summary widget).
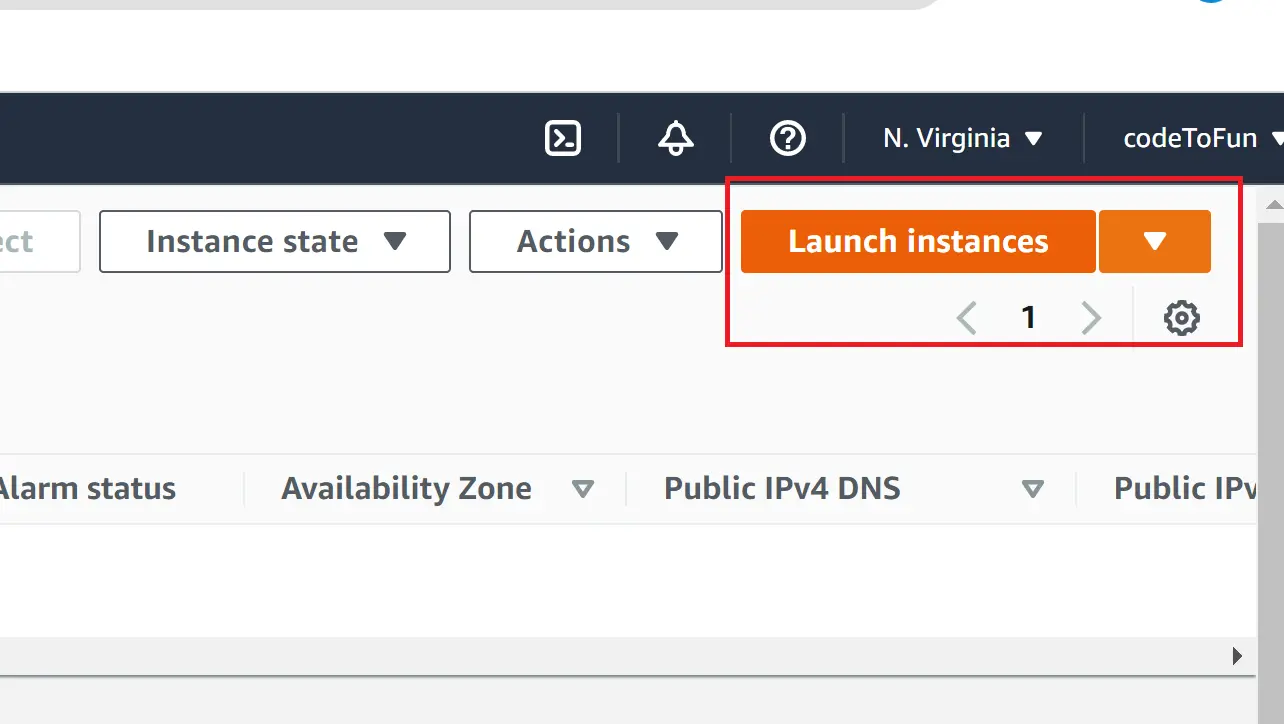
Amazon EC2 Choose Launch instances.
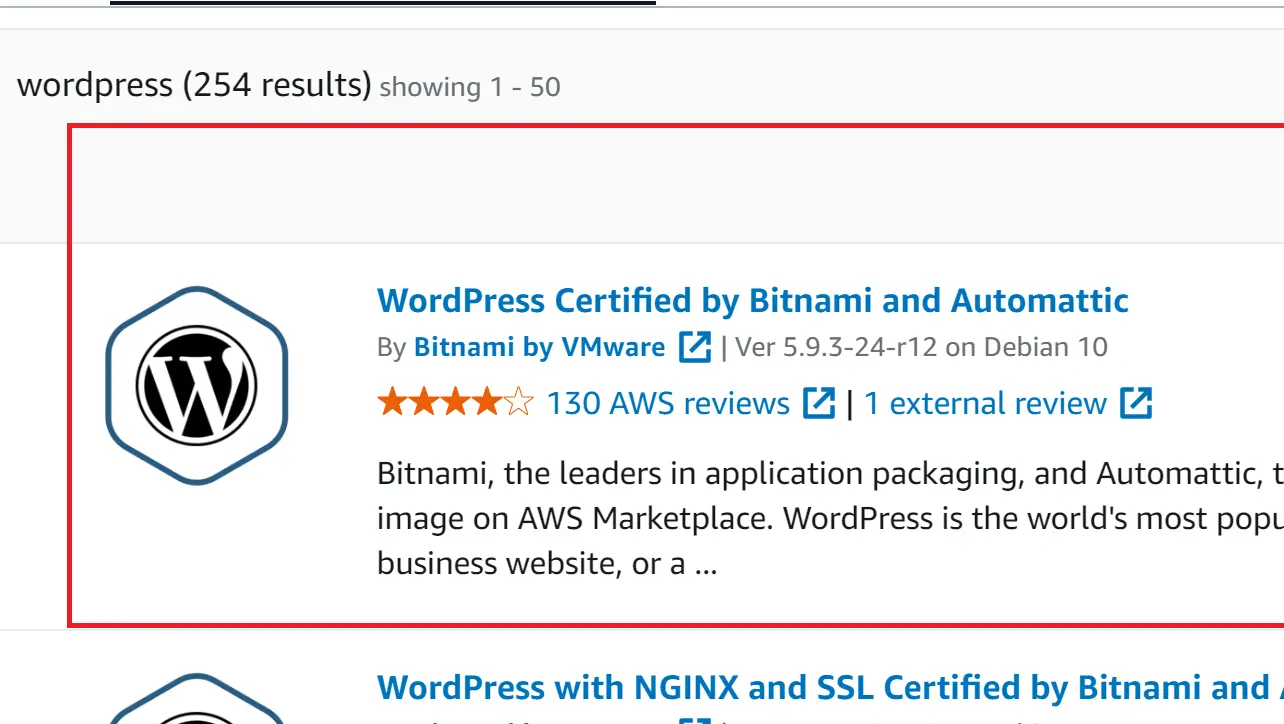
Amazon EC2 Under application or AMI search, find WordPress Certified by Bitnami and Automattic (AWS Marketplace). Open the listing and continue through any subscription or terms prompts the console shows.
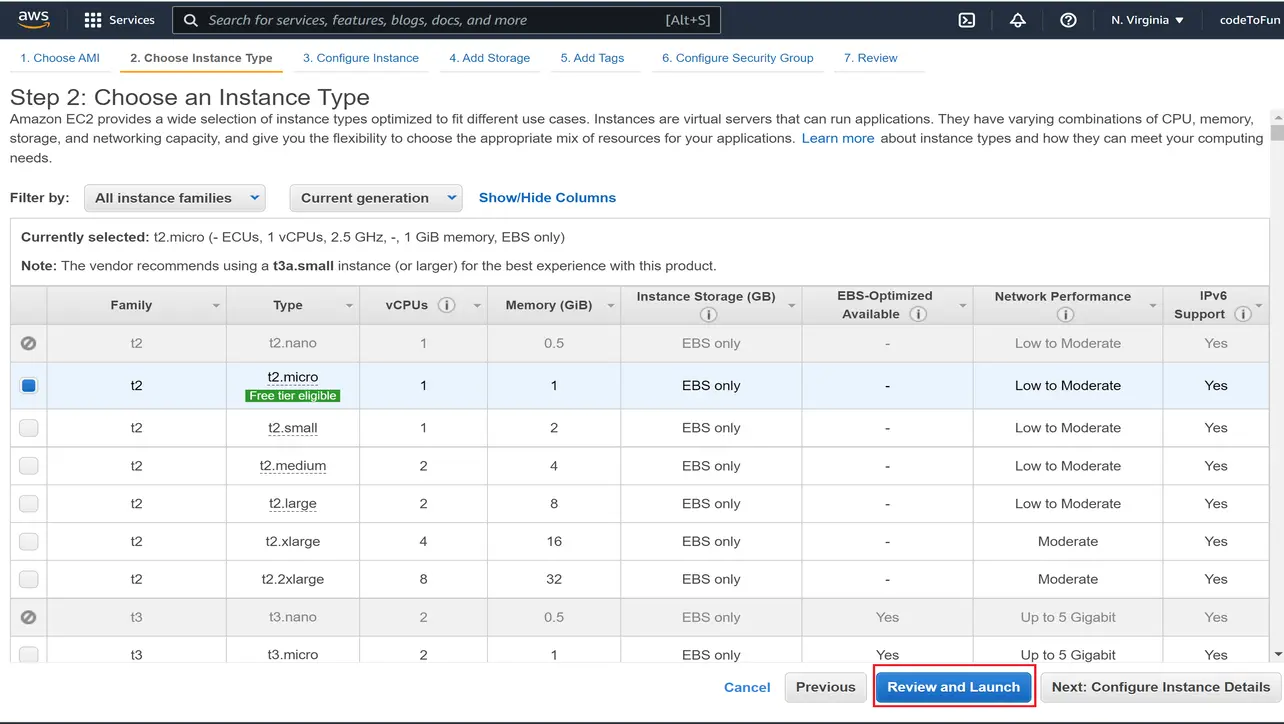
AWS Marketplace Choose an instance type. For a small lab, t2.micro or another free-tier–eligible size may be available depending on your account and Region—check the console banner. Then continue to review.
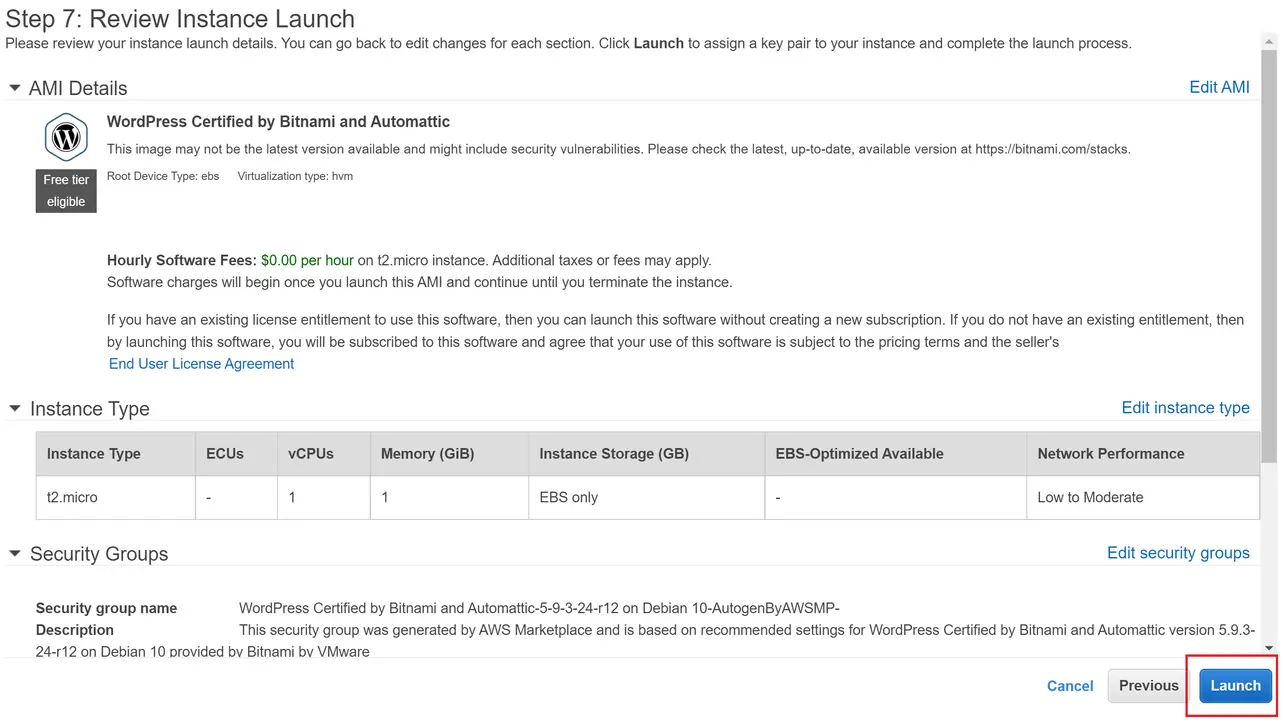
Amazon EC2 Review storage, network, and security group rules. Allow HTTP from the internet for initial setup and SSH (22) from your IP if you will administer the server. Then launch.
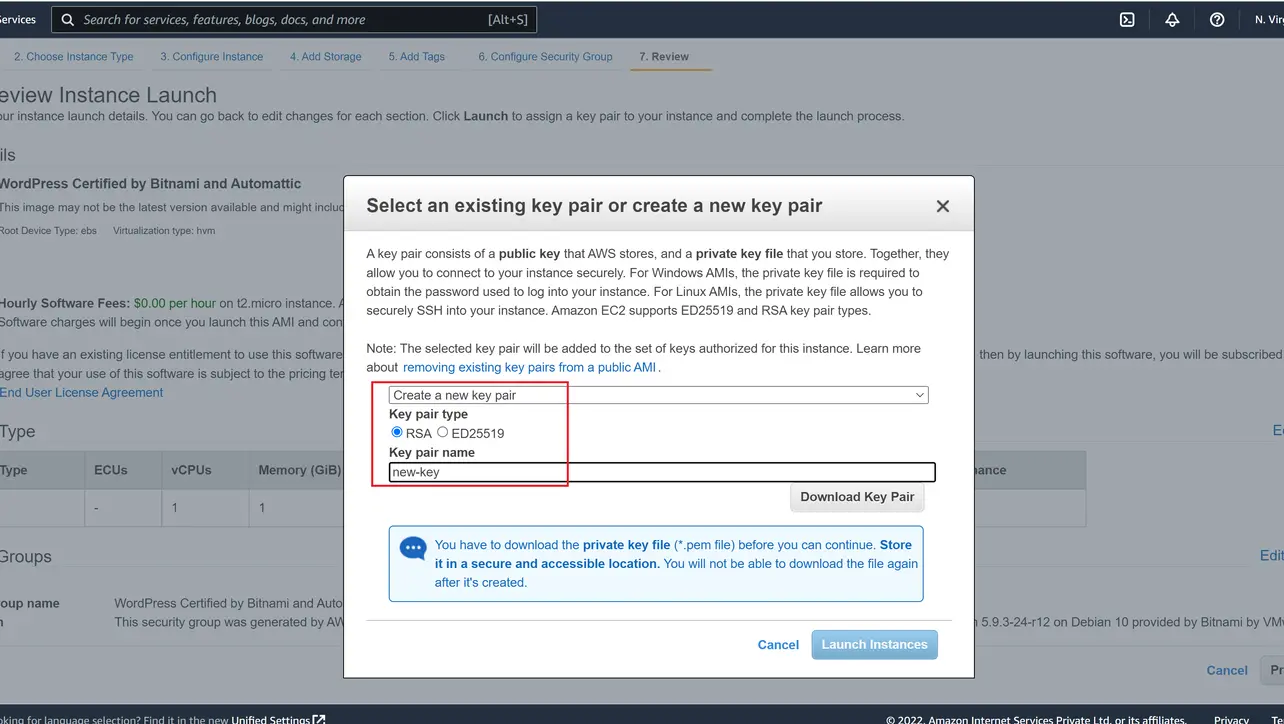
Amazon EC2 Select an existing key pair or Create new key pair, download the private key, and confirm launch.
Amazon EC2 Wait until the instance state is Running, then copy its Public IPv4 address or public DNS name.
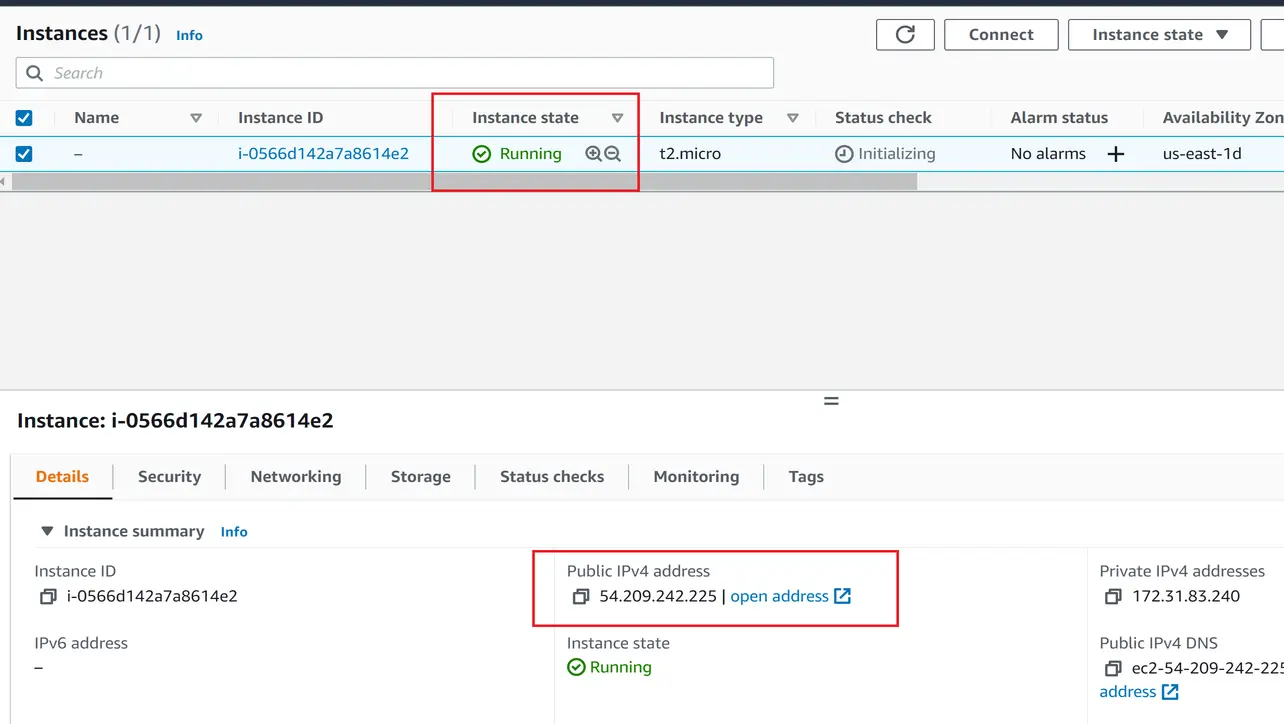
Amazon EC2 In a browser, open
http://<public-ipv4-or-dns>/. You should see the default Bitnami WordPress splash or installer flow.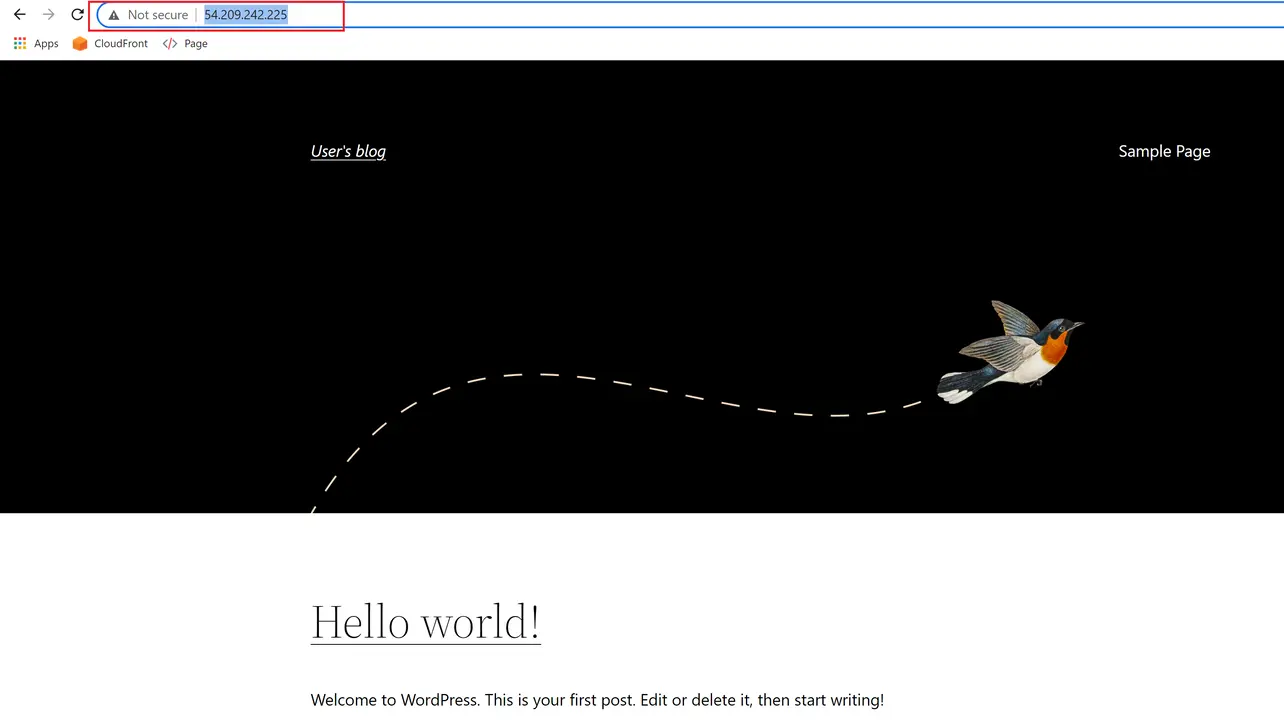
Browser
WordPress admin username and password
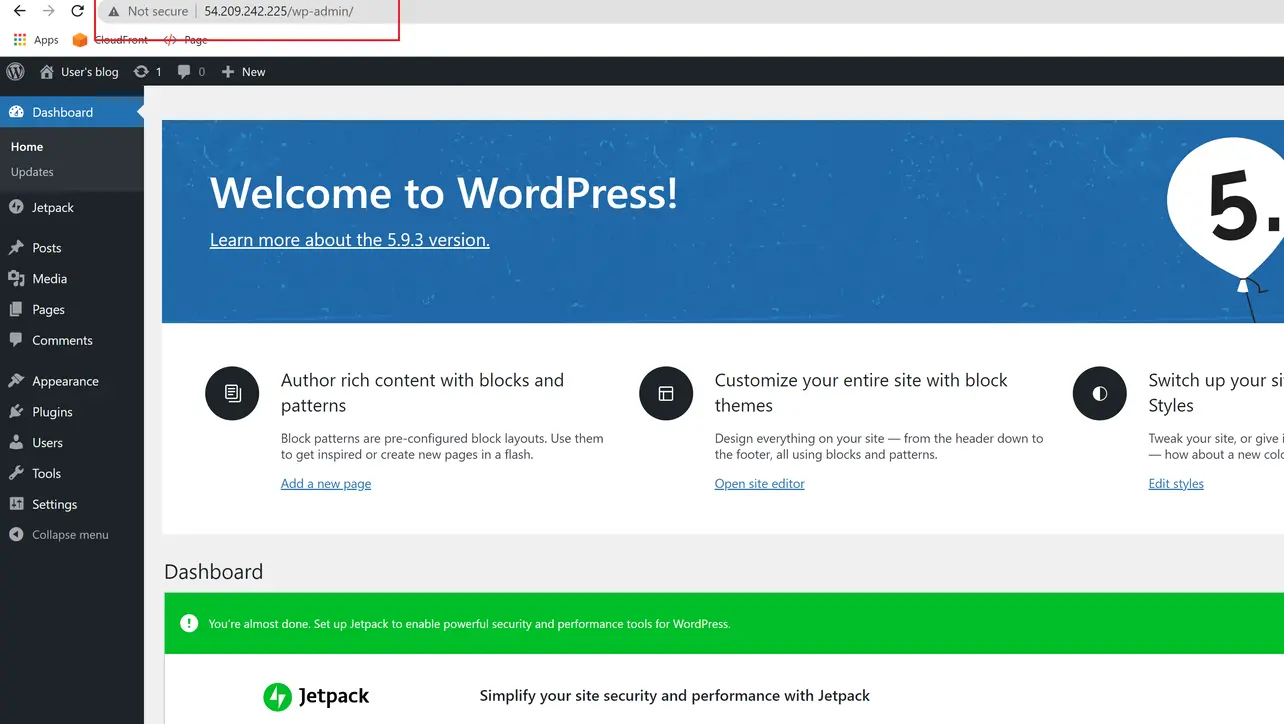
Bitnami images often print initial application credentials to the instance boot output. In the EC2 console, select the instance, open Actions, then Monitor and troubleshoot → Get system log (wording can vary slightly).
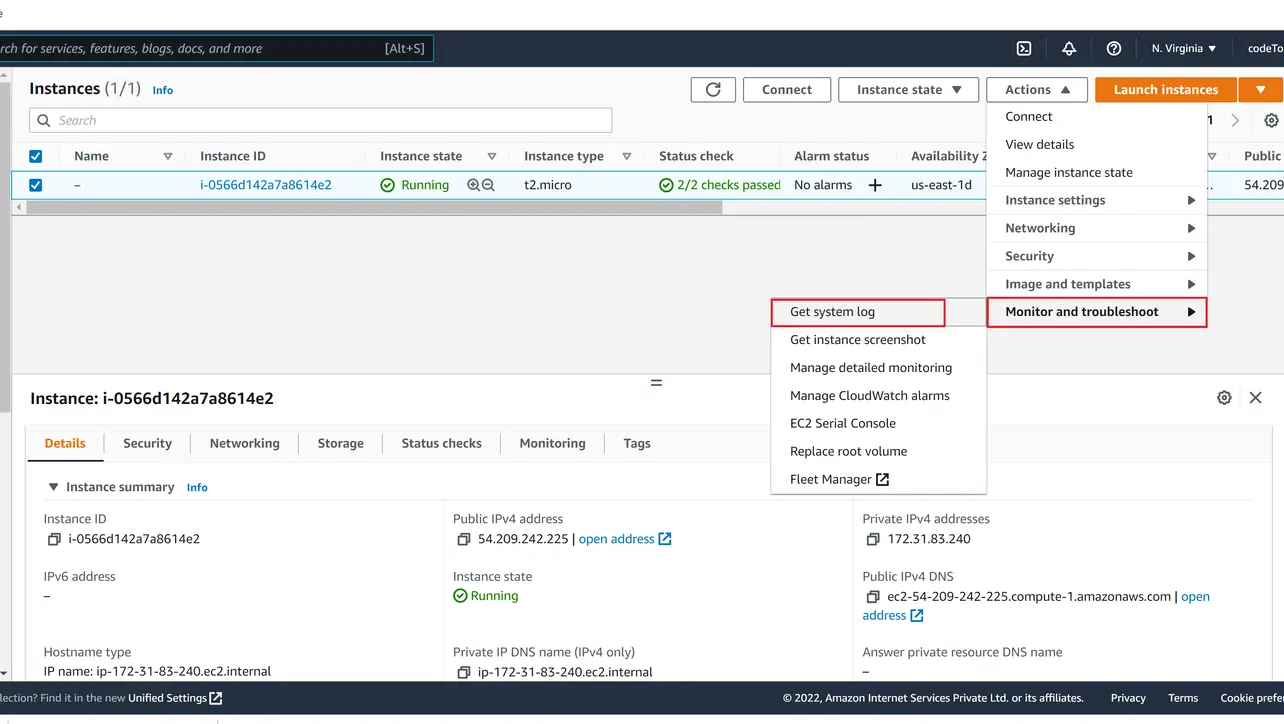
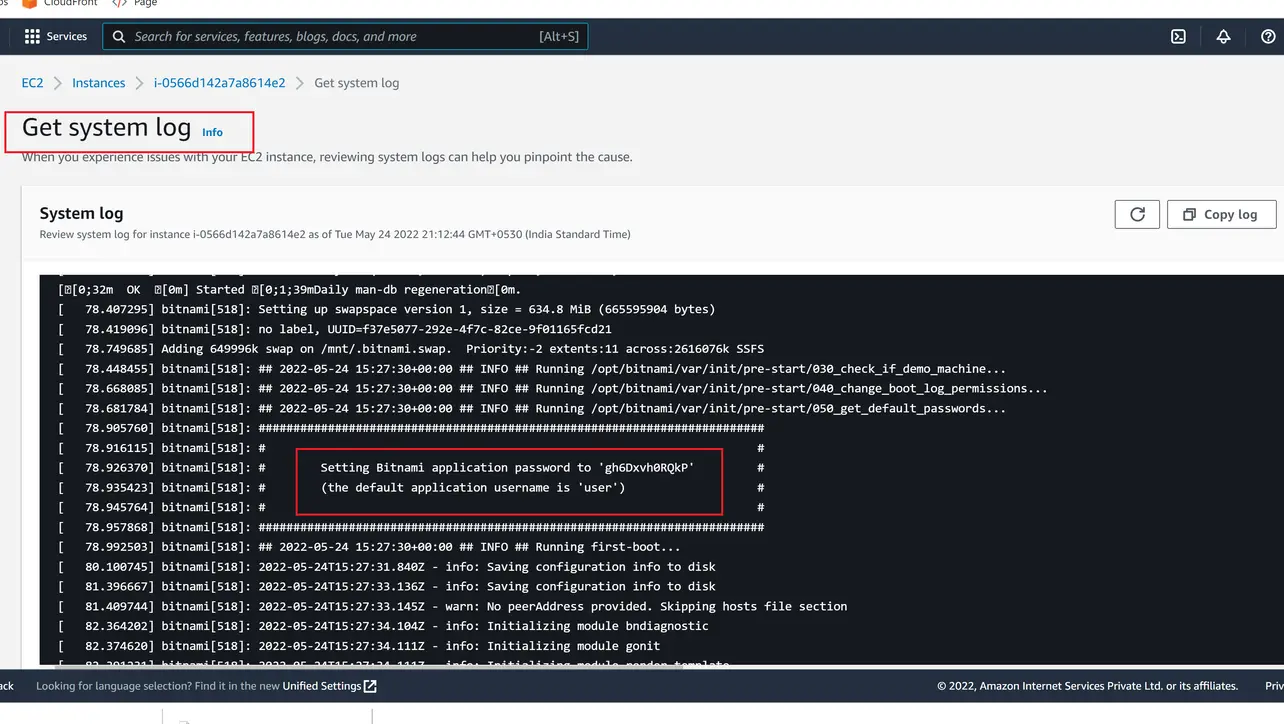
Scroll through the log and locate the lines that include the default user and password for the application (often clearly labeled by Bitnami). Use them once to sign in to /wp-admin, then change the password and enable MFA where possible.
Key takeaways
The Bitnami marketplace image bundles WordPress, web stack, and database dependencies for a quicker first boot.
Open HTTP for the initial browser test; tighten SSH sources and add HTTPS before going live.
Recover the first admin password from the system log, sign in, then rotate credentials immediately.
Frequently asked questions
Next: large migrations
Bump PHP upload limits and check plugin caps so All-in-One WP Migration can import bigger archives on your Bitnami instance.
WordPress is one of the most widely used open-source CMS platforms. Market-share figures vary by methodology and year; treat headline percentages as approximate and check current surveys if you need statistics for a report.
About the author


8 people found this page helpful