Next.js on EC2 with Express
What you’ll learn
Next.js on Amazon EC2 lets you host full-stack React apps on your own Ubuntu server. This guide adds a thin Express layer that listens on port 80 and forwards requests to Next using next.getRequestHandler(), then runs everything under PM2.
You will scaffold the app locally, add index.js at the project root, upload without node_modules, install dependencies on the instance, build, and start.
Prerequisites
Before you begin:
- AWS account and EC2
- An AWS account with access to EC2.
- Running EC2 instance
- An EC2 instance (Ubuntu recommended) reachable over SSH.
- Elastic IP (recommended)
- An Elastic IP so your public address stays stable.
- FileZilla
- FileZilla (or another SFTP client) for uploads.
- PuTTY or SSH
- PuTTY or OpenSSH for shell access.
- Node.js and npm
- Node.js and npm installed on the instance.
Create the Next.js app locally
Scaffold a new app (replace
my-nextjs-appwith your folder name):Terminal (local)npx create-next-app@latest my-nextjs-appAnswer the prompts (TypeScript, ESLint, App Router, etc.) however you prefer. When it finishes:
Terminal (local)cd my-nextjs-appStart the dev server to verify the template:
Terminal (local)npm run devOpen http://localhost:3000/ in your browser.
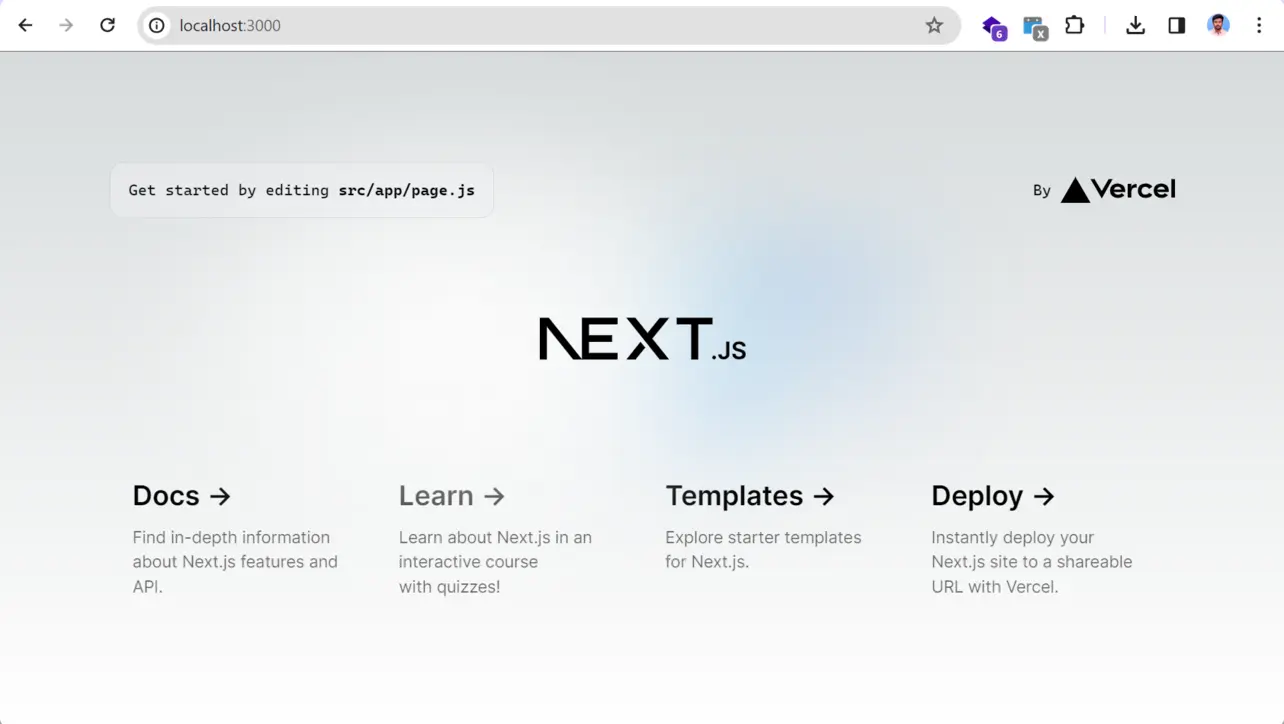
Browser Edit the starter home page in your editor:
- App Router (default in recent templates):
src/app/page.tsxorapp/page.tsx - Pages Router (if you chose it):
pages/index.tsxorpages/index.js
There is no
src/Appfolder in standard Next.js templates; the old path in some tutorials was incorrect.- App Router (default in recent templates):
In the project root (next to
package.json), addindex.jsfor the custom server and install Express:Terminal (local)npm install expressindex.jsconst express = require('express'); const next = require('next'); const dev = process.env.NODE_ENV !== 'production'; const app = next({ dev }); const handle = app.getRequestHandler(); app.prepare().then(() => { const server = express(); server.get('*', (req, res) => { return handle(req, res); }); const PORT = process.env.PORT || 80; server.listen(PORT, (err) => { if (err) throw err; console.log(`> Ready on http://localhost:${PORT}`); }); });Commit your changes locally. You will upload the project without
.gitand withoutnode_modulesto save time.
Deploy on EC2
Confirm the instance is running and note the public DNS or Elastic IP.
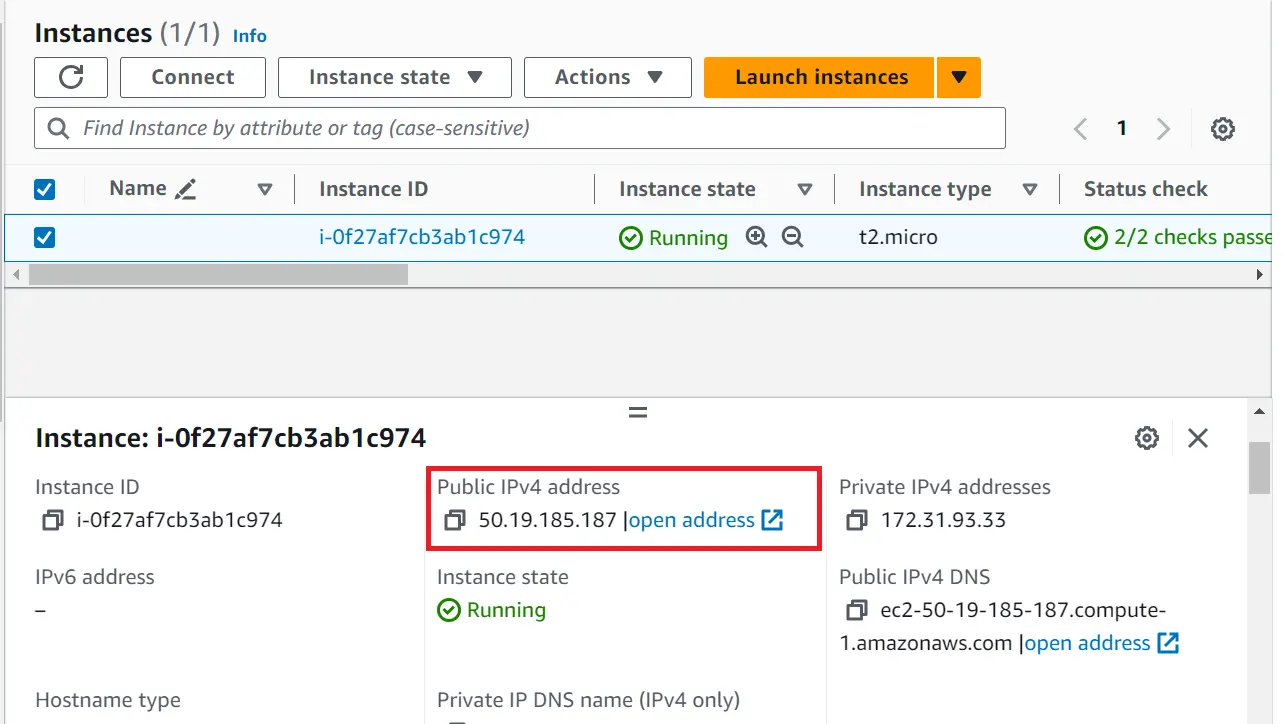
Amazon EC2 SSH in with PuTTY or
ssh.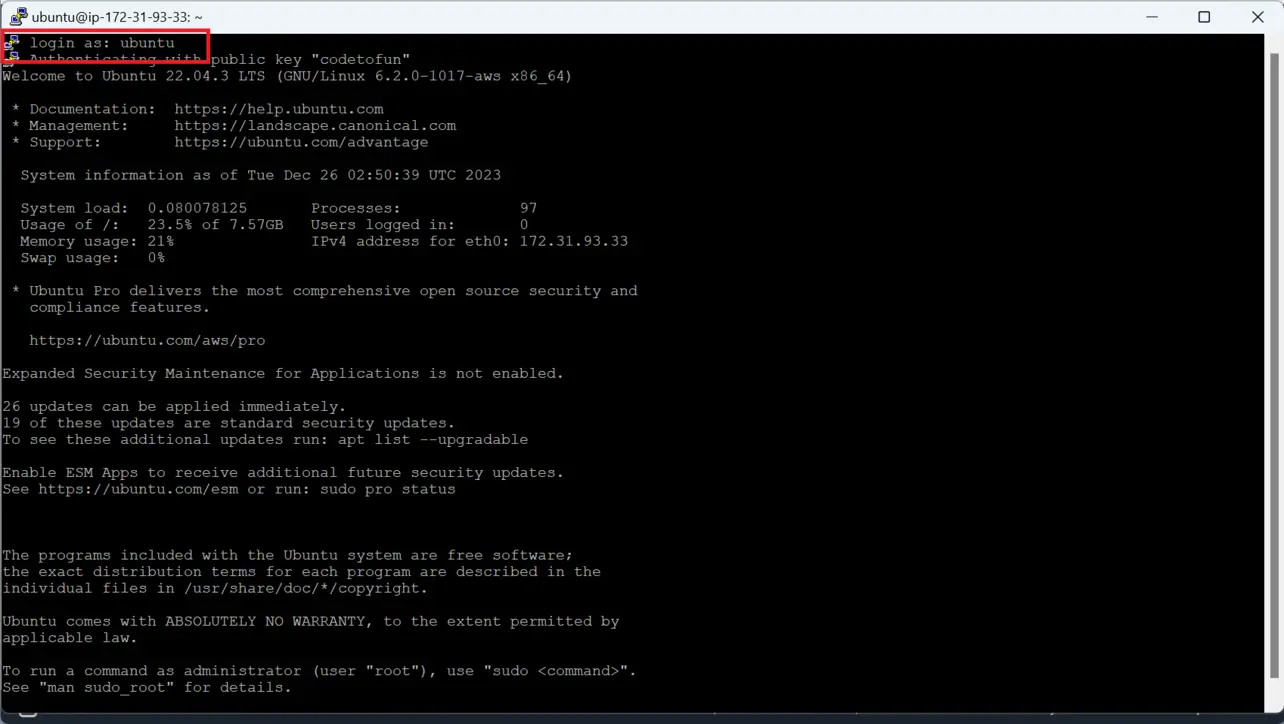
PuTTY Verify Node and npm, then create a deploy directory owned by your user:
Terminal (EC2)node -v && npm -v sudo mkdir -p /home/ubuntu/nextjs-website sudo chown ubuntu:ubuntu /home/ubuntu/nextjs-website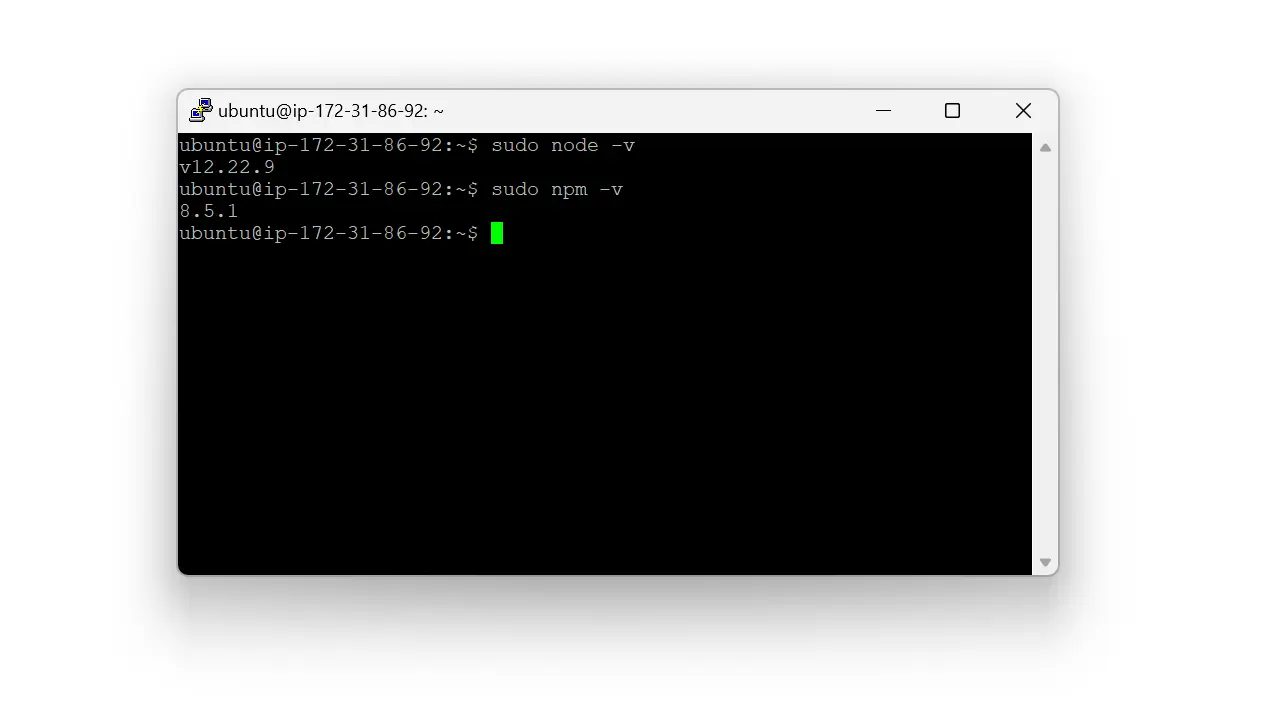
Ubuntu For a quick FileZilla demo only, you may temporarily use wide permissions (tighten after upload):
Terminal (EC2)sudo chmod 777 /home/ubuntu/nextjs-website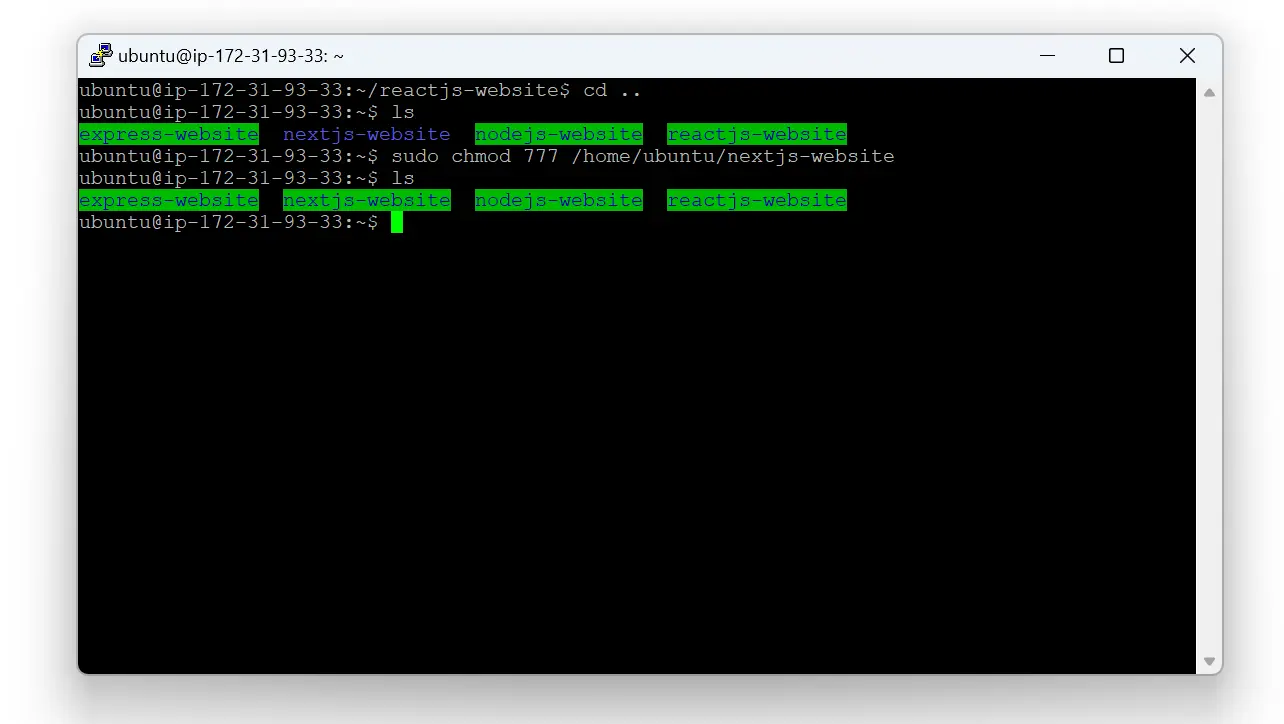
Ubuntu Upload the project with FileZilla. Exclude
.gitandnode_modules(and usually.nextso you rebuild on the server).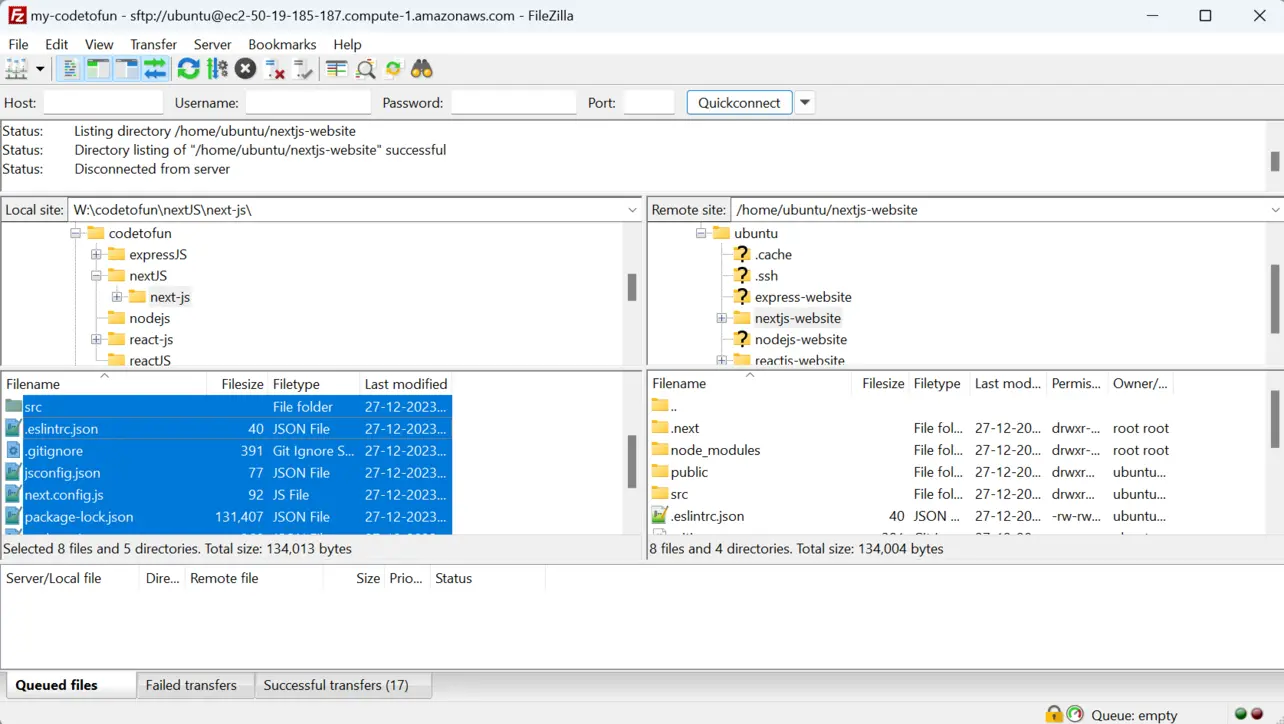
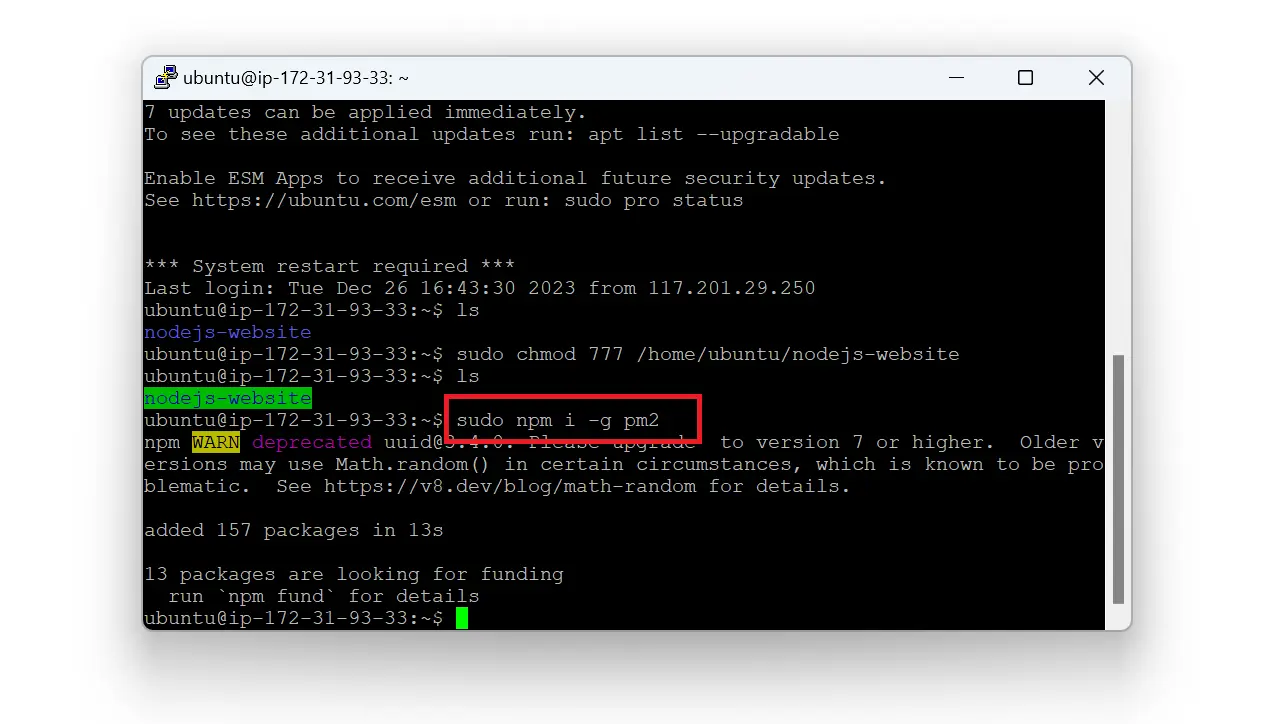
FileZilla Install PM2 globally:
Terminal (EC2)sudo npm i -g pm2See PM2 for usage.
Ubuntu Install dependencies and build for production (run inside the uploaded project folder):
Terminal (EC2)cd /home/ubuntu/nextjs-website npm install NODE_ENV=production npm run buildUse
sudo npm installonly if file ownership is wrong; prefer fixing ownership withchowninstead of running npm as root long term.Start the custom server with PM2 (port 80 typically needs sudo):
Terminal (EC2)cd /home/ubuntu/nextjs-website sudo pm2 start index.jsOpen inbound TCP 80 on the instance security group. You can disconnect SSH; PM2 keeps the process running.
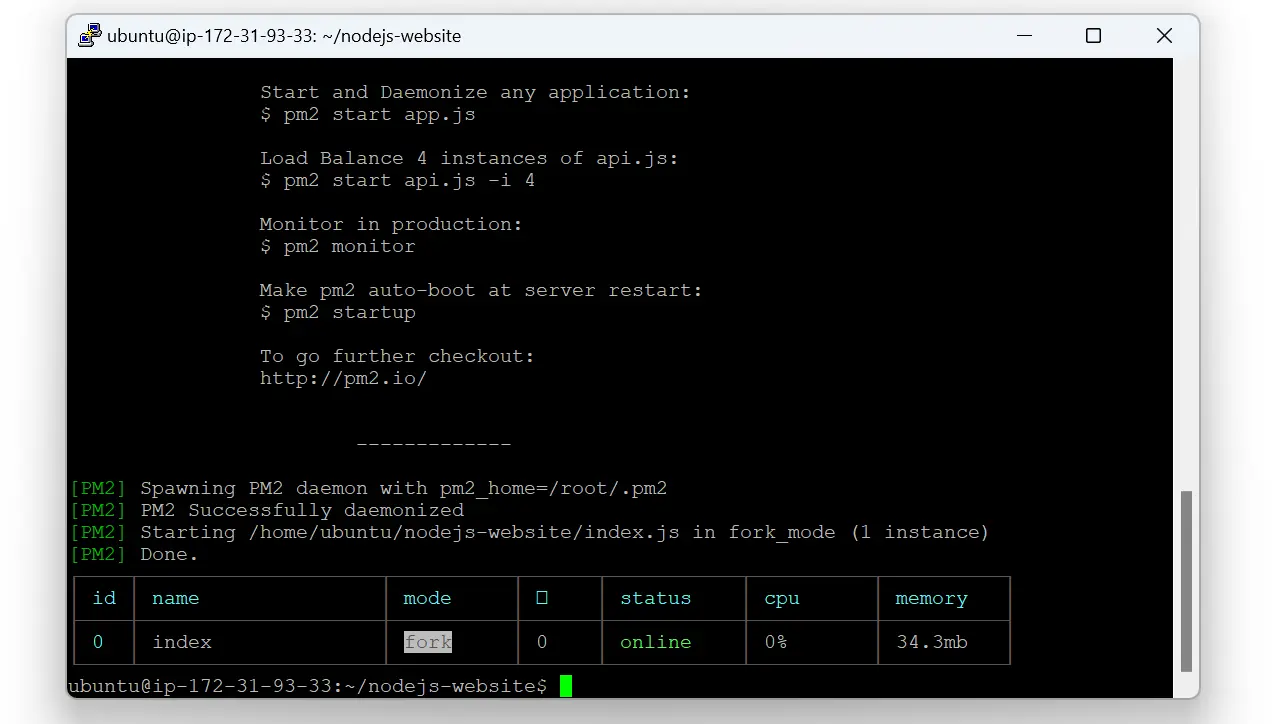
Ubuntu Browse to
http://<public-dns-or-ip>/. You should see your Next.js app.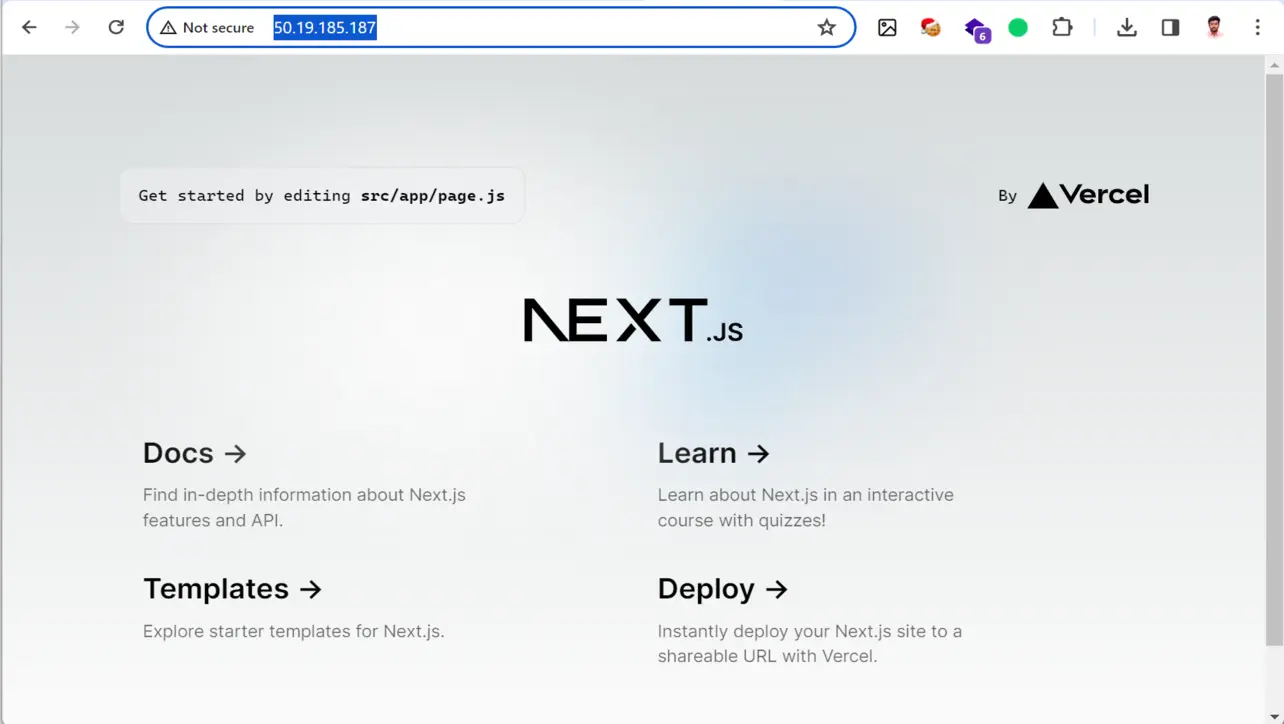
Browser If you get errors, check
sudo pm2 logs, confirm the build succeeded, and verifyexpressappears inpackage.jsondependencies.
Key takeaways
Use create-next-app locally, add Express + index.js, then upload and run npm install and npm run build on EC2.
Skip uploading node_modules; install on the server for the correct CPU/OS binaries.
PM2 supervises the Node process; add HTTPS and a reverse proxy when you move toward production.
Frequently asked questions
Simpler Node hosting first?
If you only need a small API or static pages, an Express app on EC2 can be easier to operate than a full Next stack.
A custom Node server (Express + next) is one way to host Next.js on a single VM. For many apps, next start behind Nginx or a load balancer is simpler. Check the Next.js custom server docs for trade-offs and version notes.
About the author


6 people found this page helpful